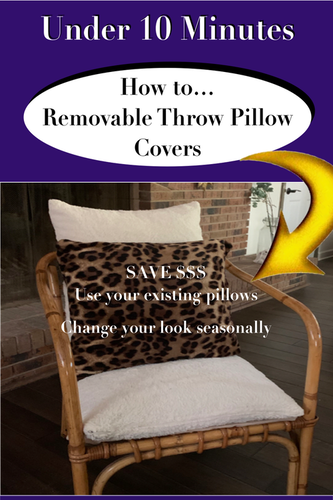
Have throw pillows that no longer match your style? Or do you like to change the look of a room with seasonal colors and textures?
If you’re like me you don’t have space for storing a bunch of pillows. And we know even those vacuum storage bags become heavy and cumbersome for storing extra pillow. This quick and easy DIY idea allows you to reuse existing throw pillows (and throw pillow inserts) with secure, removable, washable throw pillow covers that withstand everyday tossing and use.
Both throw pillow covers and (bedding) pillow shams use this "one-seam" method for creating unique, one-of-a-kind covers. No sewing machine? No worries! This post will also walk through instructions with and without the use of a sewing machine.
So let's get started. Estimated Time to Complete
Once you have the items needed (which we’ll get to in a moment), this design solution takes less than 10 minute using a sewing machine for the single seam. For hand-stitching, figure closer to 15 minutes
Level of Difficulty
Easy
Estimated Cost
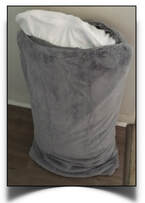
Free if you already have the items needed. Otherwise, body pillow cover ($10-20 each); matching thread (varies).
Items Needed

Consider additional items such as Fray Check (liquid seam sealant) and easy-thread sewing needles (as well as pillow (inserts)) as a small yet valuable investment in materials you'll use for this and future DIY projects.
Instructions
If sewing by hand
After cutting...

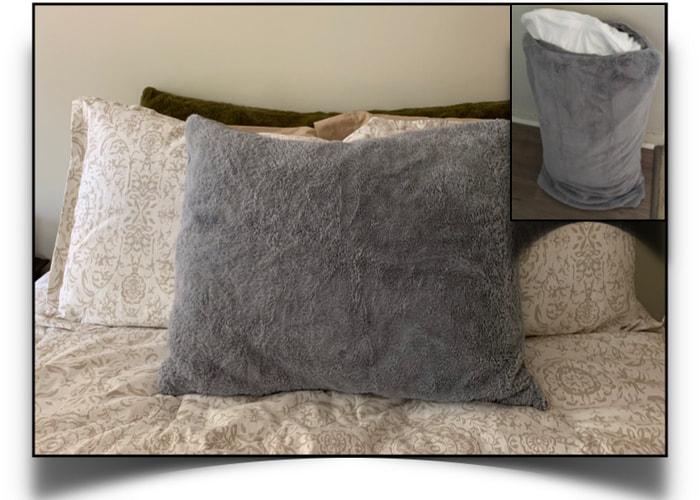
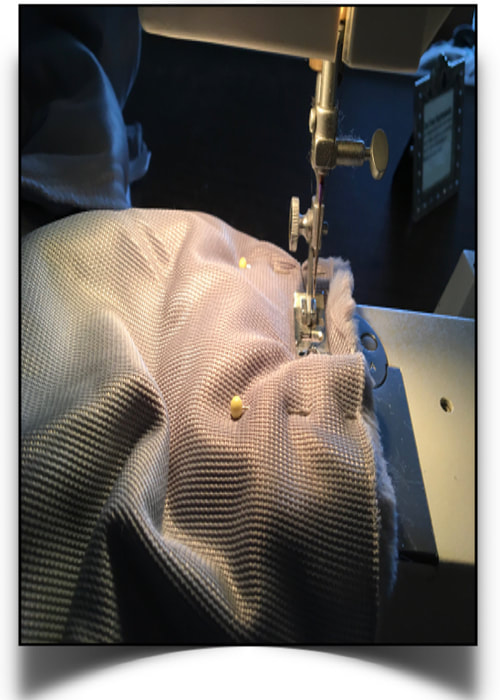
Textured covers like sherpa or shaggy faux fur (fuzzy) or faux “long hair”, plush fuzzy hide the stitching within the texture itself.
And enjoy!
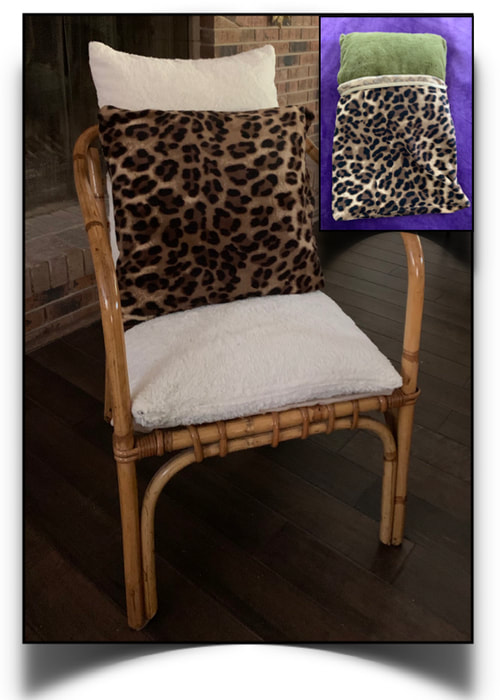

Save the unused portion of the body pillow cover to hand-sew as mentioned earlier to create a matching smaller pillow.
If you like this post, then check out my no-sew, removable, washable chair cushion and other easy under-an-hour easy accessory ideas.
In the meantime, put the fun back into functional stylish living... in under an hour! Having Trouble Getting Started?
I used to feel the same way too. After all, who wants to put time into a project that may not work in their specific home? That's why I created this Quick DIY Check Prep (List) for getting you started on those projects that actually enhance your home. I use this when starting any home DIY endeavor... big or small.
Knowing the "whys" of your home projects not only helps you with the "hows" but keeps you focused on the DIY endeavors that will matter for you... saving you time and money.
0 Comments
Your comment will be posted after it is approved.
Leave a Reply. |

Terri JustinaThe Under-an-Hour, Home DIY Warrior Categories
All
|


|
COPYRIGHT© · 2023 ALL RIGHTS RESERVED
|
|
|
|